Dotted Eighth Delay Studies

Setting up the U2/Hillsong delay in a variety of situations.

The Sessionists

Esther Subra (vocals), Serena Chew (keys), Justin (guitars), Alphonsus (drums and percussion)

Thoughts on G.A.S.

Why you should save up for an expensive guitar.

Setting Up Disaster Area DPC-8EZ and DMC-8D MIDI Controllers

An easy-to-follow video tutorial to get those patches programmed!

An Overview of My YouTube Channel

Feel free to browse some of the playlists on my channel. Hopefully this leads to you liking and subscribing!

Showing posts with label Tech Talk. Show all posts

Thursday, February 21, 2019

Dinner at Saveur (Purvis Street)


These were taken with my new Canon EFS 10-18mm STM on my 600D. Apparently, ISO on a digital camera is not a "real thing", in that the brightness setting on a photo is post-processed. Taking a picture at ISO100 is apparently the same as taking it at ISO1000, just that at the higher ISO setting, the camera bumps up the brightness for you.

The limitation of shooting at a low ISO should be fairly obvious--your unprocessed images on the camera will be really dark, and you won't be able to tell very clearly if you botched the shot. But seeing as to how my lowly 600D has terrible ISO tolerance (anything higher than 800 and the grain is intolerable), I took a gamble. All these shots were taken at ISO800, 1/50s, and at f stops f/4.5 to 5.6, and on my camera, they were really dark.

All I did was raise the exposure of the photos in post, some with 0.5 stops of light, to 2 stops of light. Not too bad looking. But this still cannot beat my 5D Mark II.

Monday, January 29, 2018

An Olympus E-PL1 in 2018?

I recently ran into a photographer whose work I respect at a party. I'd have expected him to bring his crazy rig along, but he arrived with a Sony P&S camera, citing weight and usability for his girlfriend as factors for avoiding bringing a Sony A7RII.

I have a beat-up Olympus E-PL1 that I primarily shoot with a Panasonic Lumix 14mm f2.5. Playing with P mode, I tried to see how low I can go with ISO. The following shots were progressively stepped down from 800 to 200, and finally to 100:


Not bad at ISO100! It definitely looks like daylight is the best time to use this lens and body combo. I have found that anything above ISO800 on the E-PL1 makes things too grainy.

One of the major reasons why I got the E-PL1 in the first place was to use its Art filters. This is the dioarama effect, and it's pretty cool with the wide angle possible with the 14mm!


Again, this was mostly possible with daylight. I suspect it will be a much different story in low light. Will try it out more!

Friday, March 13, 2015

Viewing iCloud Calendar Events in Google Calendar

I wrote a short how-to for ministry members to view iCloud calendar events on their Google calendar spaces because some people just don't have iCloud access (being Android phone users). This is a short post, but I hope it helps you out as much as it helped me!

https://docs.google.com/document/d/1ucwY4RHrkpr6GU1JIS-yxZBDilq1D7-0cssAjGEPey0/edit?usp=sharing


Saturday, November 29, 2014

Tech Talk: How to Disable Default Driver Search on Windows Update (Windows 7)

By default, Windows 7 will search for drivers on Windows Update first before searching any pre-configured drivers on your system. This becomes painfully slow at times, and it's especially frustrating if all you're doing is changing which USB port you'd like to plug your mouse in. Fortunately, there is a way to change the order in which Windows 7 attempts to find drivers:

1. Search for "advanced system settings" and select "hardware".


2. In the "hardware" sub-menu, select "device installation settings".


3. Select "no, let me choose what to do" and select "install driver software from Windows Update if it is not found on my computer".

This will ensure that Windows will search Windows Update last, and trust me, it's a lot faster to get things done!

Tuesday, December 10, 2013

Using Instagram as a Gear-a-holic

I was never one to use Instagram until I started following Matthews Effects and Pedal Projects. These guys post regularly on Instagram as one of their main communication streams to update customers (and fans like me) on their recent work, news, developments, and general updates. They are able to get instant notifications on comments and can respond very quickly to specific posts. I think it's a novel way to use social media to keep in touch with your clientele, especially since guitarists are naturally tech-savvy people!

How does it work?
Like other social media sites, the @ and # tags are integral to the use of Instagram. @ tags are for users, and adding them into both your caption and your comment section will push them a notification that they've been tagged (depending on how they've set up their notifications on their smart devices). This is useful for starting conversations or to "forward" a post to a friend who might be interested in it.

For example, I post a picture of my rig just before a gig:


And if Friend A wants to let Friend B in on the photo, he'll post in the comment like:

"@FriendB check out this guy's EHX LPB-1 and Mooer Shimverb!" (Ok, terrible example, but you get the picture)

Hash tags (#) are to include topics in a post, which will make it searchable by other users. Gear communities like @Gearaholic, @Knowyourtone and @Toneheaven encourage users to # them, which effectively shares the post with the wider community. # can also be used in both captions and comments. Here's a list that I currently use, and feel free to use them in your own posts!

#geartalk
#pedalboardfrenzy
#gottone
#gearaholics
#knowyourtone
#worship
#tonefordays
#toneheaven
#gearwire
#thisismypedaltrain
#globalworship

I see Instagram as a great way to:

1. Get pedalboard ideas
I got quite a few build ideas with my Pedaltrain PT-3 from searching up other users. This can go horribly wrong because it may stir up the GAS in you, so ogle with caution! 

2. Meet other guitarists/pedal makers/manufacturers
I love my country, but it's so small that the gear market only carries "mainstream" stuff. With Instagram, I'm able to contact the makers directly, and they're such a joy to talk to! Notably, Rick Matthews from @MatthewsEffects and Asgeir Helgi from @PedalProjects are great people.

3. Posting/hearing gear demos
@GearDemoGram and @PedalProjects are good examples of how the short video function in Instagram can be used to demonstrate gear, using the iPhone audio as a gauge. I know, it's not the best of audio, but it's decent enough to hear 75% of the pedal's "vibe". It's inspiring me to make use of this medium to 

4. Participate in competitions, give-aways, sales
Boutique pedal makers and mainstream manufacturers make use of the holiday season (or when they're in a good mood) to promote their wares. Most of them require the simple procedure of # the relevant topic, like #trexgiveaway, and tagging other users as a shout-out.

So, if you're a guitarist and want to tap into social media, why not give Instagram a spin? Find me @justicepao (it's the nickname I used when I played DOTA back in my uni days)

For further reading:

Thursday, August 29, 2013

Jailbreak Adventures: How to Sync Plants Versus Zombies 2 Across Multiple Devices

Picture from pixelvolt.com

Christine introduced PvZ to me a while ago, and it wasn't long before I got hooked on the mission to defend my brains from being eaten by the horde of not-so-scary zombies. It's a really fun game!

So, when PvZ 2 came out this month, I was very pleasantly surprised that it came out as a free download for iOs. Of course, this means that Pop Cap has gone the route of in-app purchases, and there are a ton of IAP's--plants, power-ups, new locations--just to name a few of the possible areas to pour your cash into. That being said, PvZ 2 is a game that you can fully enjoy free; everything in it is attainable through hard work, persistence, and the occasional stroke of luck.

The only problem I've had with PvZ 2 so far is that I couldn't sync the game across my iPad and iPhone. I spent a lot more time on PvZ 2 on the iPad than on my phone, so obviously my progress was a lot further on one device than the other. I found a solution that requires iFunBox to access the raw file system:

  1. Open iFunBox and connect the device that has the further progress.
  2. Locate the following folder: /var/mobile/Applications//Library/Preferences
  3. Locate the following files: (1) com.apple.PeoplePicker.plist, (2) com.popcap.ios.PvZ2.plist
  4. Copy these files from the device onto your desktop.
  5. Connect your second device, locate the PvZ2 folder as above, and paste the files from your desktop onto your second device.
  6. This should sync your devices together with the same player ID.

Friday, March 22, 2013

The Memories of IRC

I recently installed a chat box onto my blog page for fun. Remember the good 'ol days of IRC? I thought I'd try to be more interactive by allowing a public chat box for people to interact, discuss, and share their thoughts. You'll find a link to my Contact page here:

http://coffeeholicsstudios.blogspot.sg/p/contact-me.html

Try it out, and let's see how this goes!

For further action:
Get your own chat box!

Thursday, February 28, 2013

Jailbreak Adventures: WhatsApp on iPad, iOS 6.1


One of my biggest goals of jailbreaking the iPad was to be able to use WhatsApp on it. As you know, the messaging client only works on mobile phones, and the key to installing WhatsApp is to trick it into thinking that it is operating from a phone, and not a tablet. 

Here's what I did to install WhatsApp on iOS 6.1.

Step 1: Download and install the latest version of WhatsPad from the Cydia store.

Step 2: Download the latest WhatsApp.ipa (at this point of publication, it's 2.8.7). The iPad is smart to the point that it recognizes older, outdated .ipa installation packages. If you try to run anything older than 2.8.7, the iPad will bring up a "Please update to the latest WhatsApp" error message.

Step 3. Connect your iPad to your computer. Use a third party installer (like iFunBox) to install the .ipa package onto your iPad.

Step 4. You now have the app on your iPad. Now you need to verify your app. Verification requires you to key in a code that will be sent to a mobile number. This is the main problem with installing WhatsApp on iOS6.1: you need a working mobile number just to verify the app. You can't escape the verification by putting in a house or office number.

Step 5: This next point is very important. Do not use your own phone number to verify if you already are a WhatsApp user! If you do, your existing WhatsApp will be logged out--removing you from every chat group that you are a part of and erasing your chats. I learnt this the hard way, and I don't want anyone else to suffer! Use a spare mobile number to verify the app. My mother is a technophobic retiree who will never touch a smart phone, so I just used her mobile number.

If you really want to, I suggest buying a pre-paid SIM card for the sole purpose of verification. Yes, I know it doesn't make this method free, but I think the benefits of having WhatsApp on the iPad more than make up for the cost involved.

I have hosted the latest WhatsApp.ipa package here for your download.

You might want to improve the experience of WhatsApp on the iPad by using either of the additional tweaks below:

RetinaPad - You know how the 2x view of iPhone apps on the iPad look grainy and reminds you of your old Gameboy display? This tweak fixes the display by correcting the distortion and making your iPhone apps look it's in HD on the iPad.

FullForce - This tweak forces an app to conform to the dimensions of the iPad's display dimensions and uses the native iPad keyboard (instead of the iPhone keyboard).

For further reading (legacy methods):

Installing the WhatsPad tweak (Redmond Pie)
Using iPhone configuration utility (Justin.my)

Jailbreak Woes Part 2: When Apps Crash on Loading

I used iMovie for a good part of an afternoon to film and edit clips. It was easily 3 hours worth of work, and I was wrapping up the day's editing and ready to export my videos.

The unthinkable happened. I exited the app to check out my Whatsapp messages, and when I tried to re-open the app, it just won't open. Every method I tried resulted in the same result: app crash! I tried to kill the app from the app switcher and re-open the app. I tried soft resets, hard resets, using iCleaner, checking out if files were corrupted using iFile...everything didn't work!

Then the thought occurred to me that maybe it was crashing because I was working on a new movie project, I wasn't satisfied with the clip, removed the clip (so the project board was empty) and exited the app at the same time. This meant that iMovie was trying to save a project that had an empty project board.

So I rebooted my iPad in Safe Mode--and it worked! I could load iMovie without it crashing on me. And true enough, the project I was working on was empty, as the title screen for that project was showing a total duration of 0:00. I removed that dud project, exited Safe Mode, and I was back in business.

Safe Mode. It really works.

And here's the video I was making that started with a dud project board:

How to spot a vintage stratocaster

Thursday, February 7, 2013

Jailbreak Woes: Removing Siriport from iPhone


No sooner had I started to jailbreak iOS 6.1 did I encounter numerous problems. Well, it's mostly my fault. You see, in my zeal to squeeze the most out of my device, I end up trusting questionable sources. For a long time, I wanted to have Siri on my iPhone 4. In case you don't know why iPhone 4 doesn't have Siri, that's due to the fact that Apple's A4 chip doesn't have noise-cancellation. This was only implemented with the A5 chip, which was introduced in the iPhone 4s. That makes sense, as you need Siri to understand what you're saying amidst background noise.

So I went and searched for a way to get Siri onto my iPhone 4. There are workarounds, but I wanted the real deal, and hence settled for Siriport. What I didn't know was that Siriport was a pirated version of the official Siri (there's a lengthy article on the specifics behind Siriport's architecture and how it works, but that's beyond the scope of this post). I followed the instructions to get Siriport, resprung my phone, and I managed to get my phone into an infinite boot loop. This is where the apple never moves!

Of course, I panicked. But there is always a solution to get a phone out of the infinite boot loop. The problem was that there was no way to access the phone's file system while the phone is essentially a brick...or was there?

Enter iFunBox. This third party desktop software helps to install .ipa packages onto the iPhone, and it still can connect to a phone that's in an infinite boot loop. The only problem I faced was that when I connected the phone with a USB cable, iFunBox would sometimes either lose connection or not connect at all. If you are experiencing this, be patient; you are trying to fix a (temporarily) spoilt phone.

Removing Siriport and Breaking Out of Infinite Boot Loop

What you need: iFunBox and a USB cable.

Step 1: Connect the phone to your computer with the USB cable. Run iFunBox.

Step 2: Find the Raw File System folder, and go to the /System/Library/LaunchDaemons folder.

Step 3: Open the com.apple.SpringBoard.plist in Wordpad.

Step 4: Remove the following

EnvironmentVariables
        DYLD_SHARED_CACHE_DIR 
                 /var/siriport.ru/Cache4SDYLD_SHARED_CACHE_DONT_VALIDATE
1 DYLD_SHARED_REGION private


Remember to save!

Step 5: Go to the root folder (Raw File System), do a search for Siri, and delete the files and folders that are associated with Siri.ru. There should be 14 items of files and folders to delete.

Step 6: Disconnect your phone, and do a hard reset (hold the home and power button, release when the Apple logo comes up). Your phone should be back. If not, repeat the whole process again--I had to try this 3 times, and the hard reset took roughly 2 minutes.

Lesson learnt: Never trust dodgy sources!

Resources

Thursday, November 1, 2012

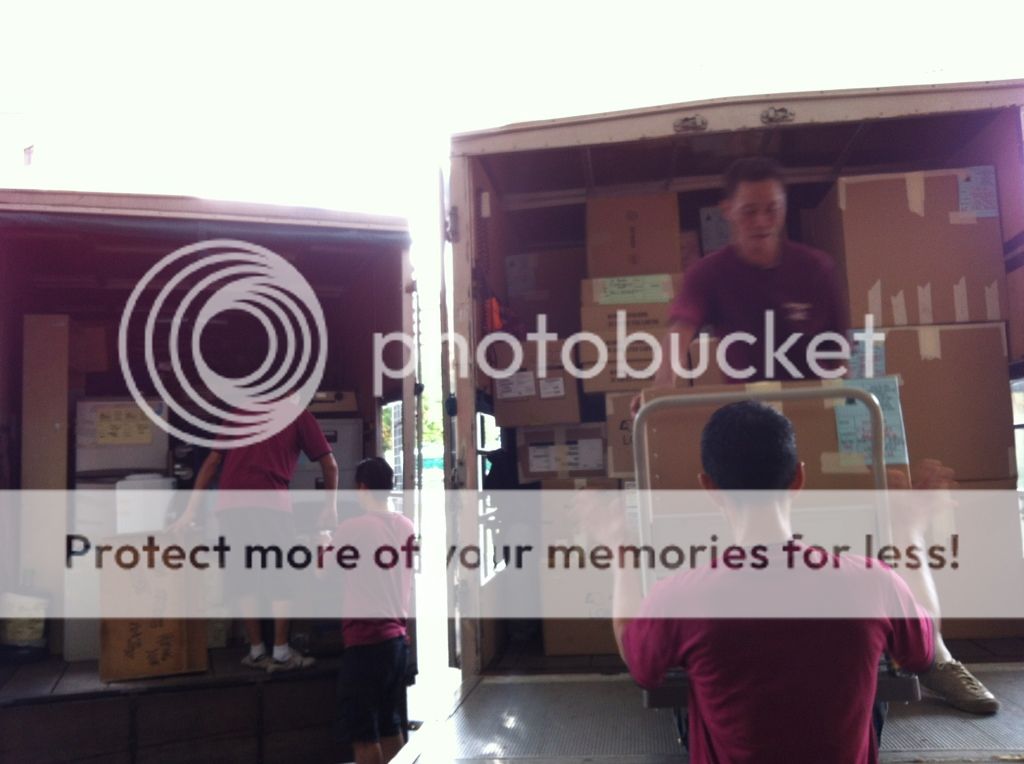
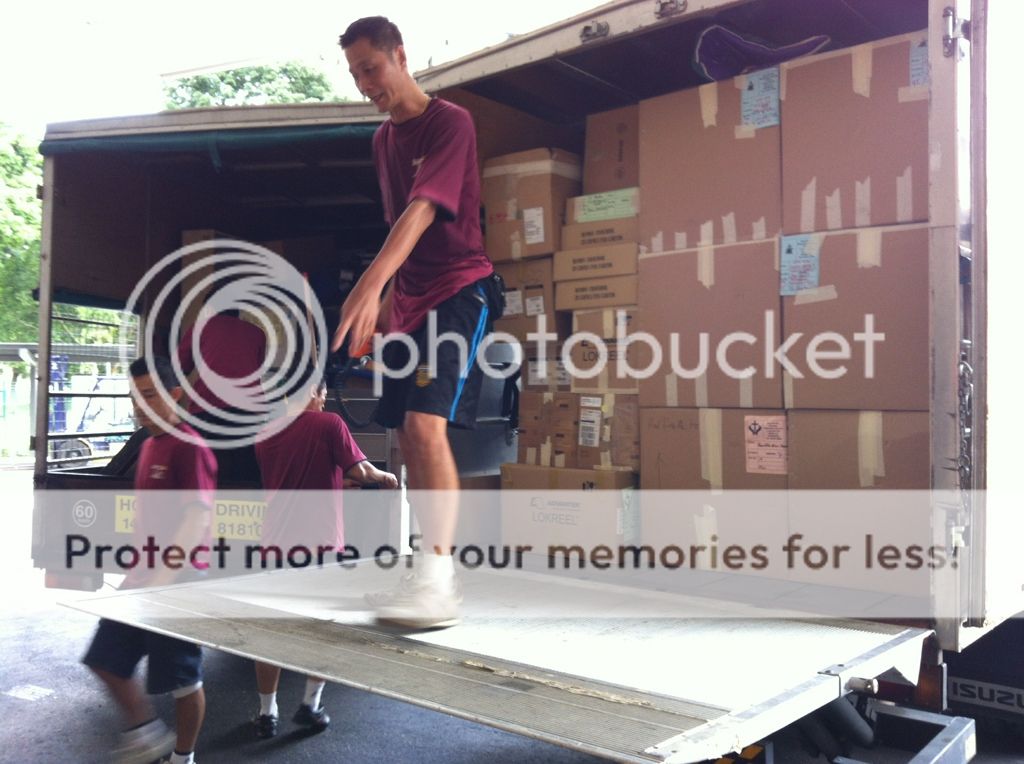
The Inner Geek (and the New Office)

The move from Midview to church:


Some shots of the sanctuary (the pews haven't been brought in yet):


And once we settled into office:


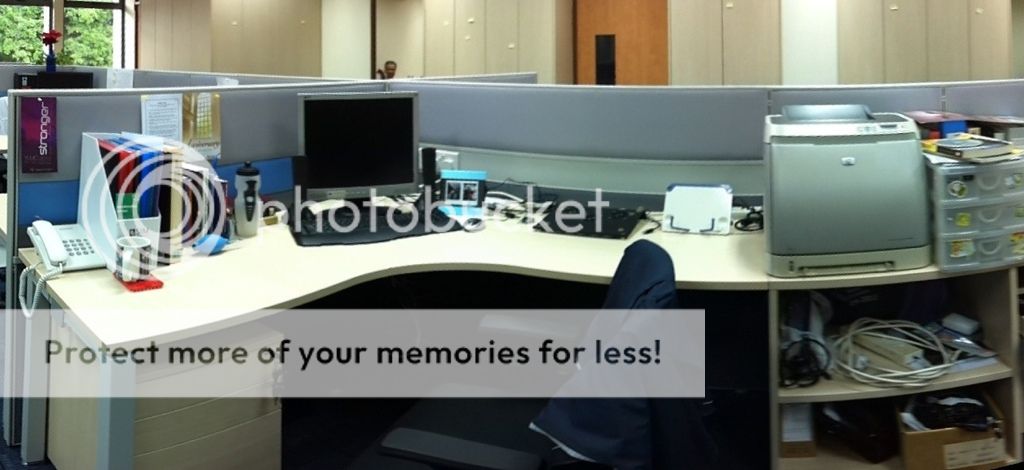
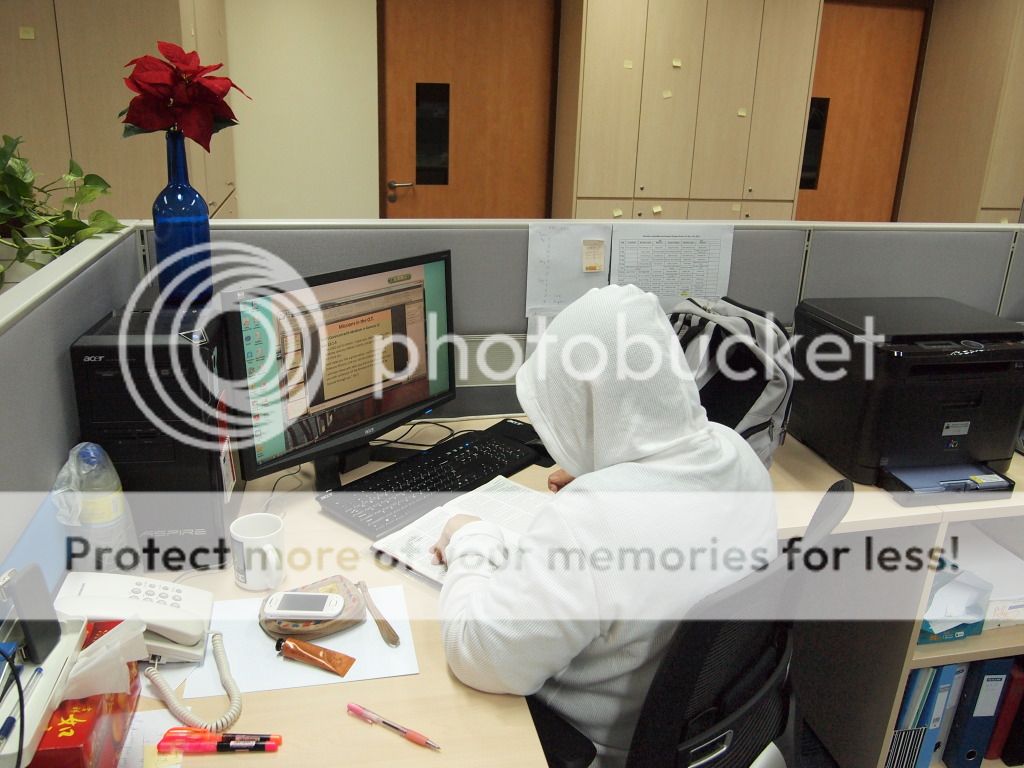
Maybe it's part of my training as an engineer, but when I saw things that were not being used lying around the house and in office, I just had to make use of those things and decided to put together a computer system for my new office space:


When we settled down in the new office, there were quite a few things lying about:
  • A spare 19" monitor
  • My personal spare keyboard (a Microsoft Sidewinder) and a set of Altec Lansing 2.1 speakers
  • A notebook cooler
  • A picture frame, which got filled up really quick :)
I hooked up the monitor, keyboard and speakers to my netbook, set the display out as "projector only" and let the computer decide on the optimum resolution for the display. Lo and behold, it looked and felt just like a desktop! The cool thing is that I can switch between using the netbook exclusively if I need more privacy (the 10" screen of my netbook is harder to take a peek at from behind, and I can use my mouse like a leftie), or if I need to run video calls from the webcam.

Zoom out a bit more, and you'll see my trusty iPad propped on a book stand.


You'll also notice that I have my iPhone connected to the netbook. I had to tether my 3G connection over the past two days, as our internet connection hasn't been set up yet in the new office. Although slower than WiFi, I still managed to upload photos to my Photobucket account, download videos and music for sermon prep, and use gChat with Christine.

Insert random pictures of cute kids here (Alex and Caroline brought Tiffany and Ian around the new office):


And a picture of the office eskimo, Irene:


And the last shot of the whole office (I saved the best for last!)


Thursday, June 28, 2012

Return of the PEN


I learnt a valuable lesson when handling cameras, and I learnt it the hard way. I wanted to do a self-portrait for the purposes of updating my resume and professional profiles, so I used a tripod to prop my Olympus PEN up. Unfortunately, I must have extended one of the legs shorter than the others, and as such, when I released my grip on the tripod, the inevitable consequence of gravity taking over happened:

The camera fell facewards towards the ground. Before I could react, it had already landed squarely onto the lens with an audible crack. It was disheartening when I inspected the damage: the lens was bent (M.Zuiko lenses have an inner/outer shaft assembly to zoom), the motor was stuck, and the focusing ring was jammed. In short, I transformed a 14-42mm zoom lens into a 25mm out-of-focus prime lens.

At least the lens bore the full brunt of the damage. The body miraculously had no scratches or dents, and it could still take pictures, although I couldn't tell if the camera functions were working properly since the lens was out-of-focus.

With much thanksgiving, someone with a spare lens responded to my shout-out on Facebook (social media does have a use after all), and it was a fantastic 14-42mm Mark II! With a slimmer profile, a faster focusing motor, and a refined lens construction which made images sharper, I found a new-found obsession to using my PEN. Here's a sample of shots taken:


I admit, I'm primarily a P shooter, which I think is automatic on steroids. These were taken outdoors under shade with ISO 400. With plenty of light, this ISO could freeze our laughter (captured brilliantly by Julia!).


Indoor shots with ISO 800 had a little more grain to them, but I had to crank it up to counter the darkness of the stage (our church meets in the cinema, and the only source of illumination are a pair of stage lights that are point, strong sources of light). Even at this ISO, I could not eliminate motion blur:


It seems that this Mk II lens does not perform as well as its previous incarnation in low-light situations, but I suppose there must be a trade-off somewhere. I'm going to buy this lens off you, Uncle Michael! Thanks heaps for helping me return my PEN to service.

For further reading:
Olympus M.Zuiko 14-42mm Mk I vs 14-42mm Mk II

Wednesday, June 27, 2012

First Impressions


I'm a tech geek, so naturally, as and when there are promising pieces of new tech for me to play with, I'd be the first to jump right in. DraftCraft seems to have multi-platform publishing, so I'm trying this out. Maybe my ultimate iPad blogging experience will be actualized with this.

Ready, steady, blog!

Saturday, May 12, 2012

Photo Tip: Avoiding Barrel Distortion in Zoom Lenses
I'm doomed. I got myself into a new expensive hobby--photography! I got myself a Canon EOS600D, and quickly acquired an 18-55mm, a 50mm/f1.8, and a Nissin flash. Here's a quick and interesting lesson I learnt from our resident photographer, Rinaldo Ackbar, about zoom lenses:

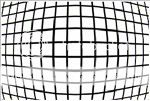
A perfect lens would render straight lines as straight, no matter where they occur:


Most practical lenses fall short of perfection and instead bend lines outwards (barrel distortion) or inwards (pincushion distortion). This is how barrel distortion will be perceived:


Why is this important? Well, the human brain is remarkably good at recognizing human faces, and can readily detect when someone has gained or lost weight, for example, just by looking at the face. The same is true for geometric distortion. Here's an example of barrel distortion when taking a portrait shot at 18mm:


This is not particularly flattering (except perhaps if the intended creative effect is to have the background bend around the subject), and instead, portrait shots should be free of geometric distortion to appear natural. This can be avoided by stepping back and zooming in, as follows:


(Credits to Rinaldo for teaching me! Don't worry, photography posts aren't going to take over the subject matter of this blog. I'm just too noob at it!)

Thursday, January 26, 2012

Why You Should Save Up for Expensive Guitars

Some of you know me as the advocate for cheaper alternatives to the big guitar brands (Fender, Gibson, etc). I own two Yamaha's that I've designated for outdoor use, or for places where I know that the crowd might be rowdy and there's a possibility of spilt drinks.
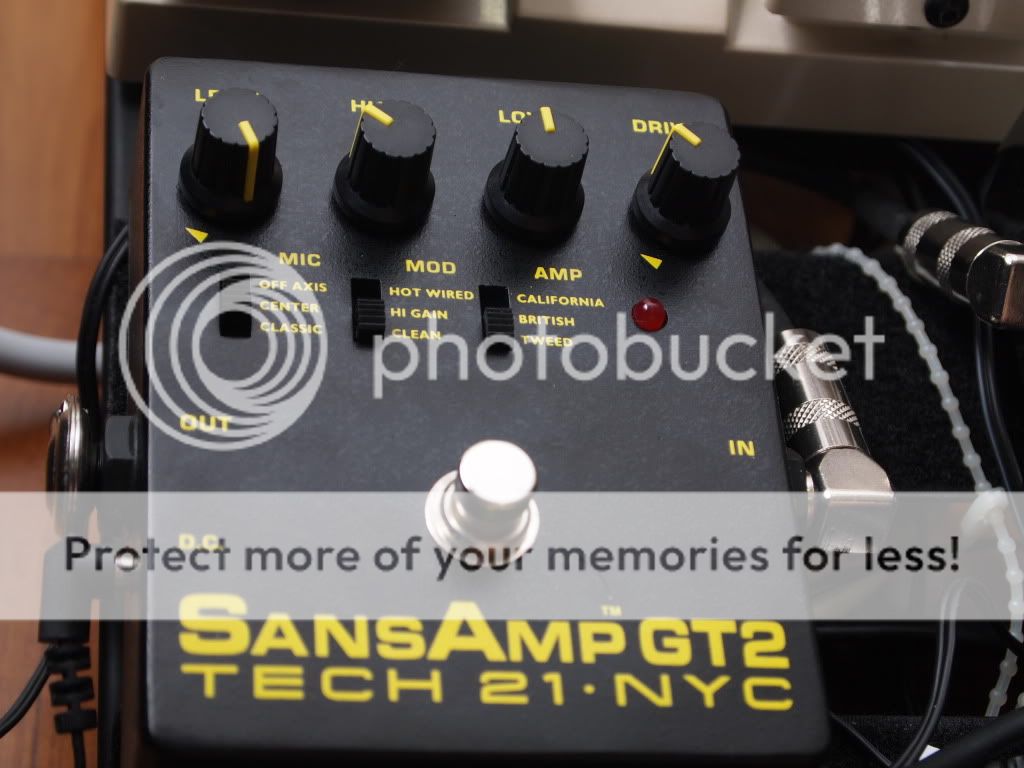
I recently went on a project to test my new SansAmp GT2. I've found a setting that's really good for live use (as heard in the Performing Arts rehearsal rooms, and in the halls of AMKMC), using the GT2 in a clean setting and relying primarily on my overdrives and boosters for dirt. I had wanted to use the same settings for the recording environment, which turned out to be a little more tricky.

I set the GT2 on zero drive and a mild high cut on the British amp on clean with the mic off axis. All overdrive settings were the same throughout. I recorded three snippets with three different guitars, in increasing order of value. Here are the results of the recording project:

First up, the Yamaha RGX-820, the cheapest of the three.
Single note lines towards the end of the video were clear and defined, but chord work in front was muddy and too edgy. I suppose this would work for Japanese pop rock songs (don't you wish they turned the treble/presence down for some of the guitar parts?), or for the situation where I drastically need to cut through a muddy mix.

I then tried the Yamaha AES-820, slightly more expensive than my RGX.
I set this guitar up with the pickups on high-cut mode. Several things were improved over the RGX: there was more definition, and the tone was more full-bodied. With both Yamahas, I had to post-process to get the tone to sit right in the mix, with massive EQ-ing, parallel compression, a tube-warmth plugin, and a stereo enhancer.

Now, without changing any dials on the GT2, the tone of my Les Paul sounded like this with the bridge pickup volume on 6, tone at 8:
Definition, articulation, warmth, clarity...the Les Paul surpassed the Yamahas by a mile. I didn't have to do any drastic post-processing to get the tone to sound nice, apart from some stereo enhancement. The guitar tone seems to wrap itself around the notes, something I've realized is a quality that is present in my Strat and Tele.

Seriously. If you can save up and get a guitar of good build, it is worth every dollar.

Sunday, December 4, 2011

Tech Noob Moments

I don't know what happened. Poof! My top navigation bar just disappeared, and for an hour I just couldn't get it back. I must have mistyped something in the HTML (which, at this moment, has been modified beyond recognition from its original code), and now, no matter how much I try to use the Blogger menu to change the layout style, it just won't show.

There are days when technology just doesn't work...
I came up with a workaround. You'll now find my biography, guitarists' corner and contact in the secondary navigation bar (which links to home, my band, and great links). It took a little reading to remember how to set it up in the HTML code, but it worked. It's just two more clicks to navigate, and hopefully it doesn't put people off. I'm told by the pro bloggers to keep my layout as simple as possible so that readers won't find it a hassle to click around.

Monday, September 5, 2011

Pedals: The Essentials

Before rushing out to buy your ten distortion boxes, I hope to provide some insight on things that you'll need (and truthfully need, mind you). A few important points to note:
  • Pedals require power, either from batteries or from an AC/DC adapter. Powering pedals is a huge topic in itself, so I'll be brief in this post.
  • Every pedal you want to include in the effects chain needs at least two patch cables for input and output.
  • Pedals with the option for external control (such as tap tempo, or a latched switch to change channels and presets) will need an extra patch cable. Did I mention you need to get the external controller too?
The take-home message here is that every pedal requires a condiment of accessories to function, so accommodate that in your budget for a pedalboard!

Power Supply

Batteries have an advantage of having no power cables that could end in a labyrinthine mess, but unless you're willing to dish out the money and time to replacing them, you're better off getting a dedicated power supply. If you're into playing the electric guitar for the long haul, you'll easily acquire more than 10 pedals (and that's a conservative estimate!), so get it right the first time and get a power supply.

Tuner

Please make an effort to get a tuner (really, it doesn't matter how much it costs). Regardless of how great your tone is, an out-of-tune guitar is an instant turn-off! If tone loss from using a tuner is an issue for you, put it in the Tuner Out of your volume pedal to remove it from the signal chain, or have a simple true bypass A/B box to split the signal from your effects chain.

Noise Gate
The more pedals you add to the chain, the noisier your signal will get when you stop playing. A gate does what it metaphorically describes; it will close at a certain preset level (threshold), and you can control how fast the gate will close (decay), varying from a fast shut-off to keep things real tight at the expense of sustain, to a slow decay which will let some noise in but keeps the guitar tone natural.

Volume Pedal

Rolling off the volume on your guitar will have the tonal effect of rolling off the high-end and scooping the mids, which could be undesirable as you may want your original signal intact. A volume pedal solves this problem, allowing you to retain your tone at a desired volume level. You can perform the volume swell effect with this by having a long delay set after it.

Friday, July 1, 2011

Pedals: An Introduction to Analog

I'll make an honest admission. Even though I've been playing guitar for over 12 years, I only started on analog pedals and amps this year. I've been relying on solid state for all of my tones, from my first 10W practice amp to my present Line 6 PODX3. Of course, it's not like I'm a complete newbie at it; I've gigged with all sorts of analog gear, courtesy of band mates who were kind (and rich) enough to lend me for the night.

Well, why the switch now?

In short, I got bitten by the analog bug. I must have been immune to it all those years when I wasn't earning an income and still a student on a budget. When payday comes, let me assure you, there's a great temptation to rush out and grab as many little metal boxes as your paycheck affords. In a short manner of 3 months, I acquired enough gear to completely fill up a Pedaltrain Pro (see below):

Justin's Pedalboard v2.0, 01Jul11
I've had an idea for what kind of tone I was going to commit to for a very long time, so that explains the apparent "shot-gun" style of acquiring my gear. I always liked warm, articulate and fat tones, particularly those in the style of Andy Timmons, Eric Johnson, Dave Weiner, and Ryo Owatari.

Was the switch easy? Not for me. Switching from multi-fx to analog pedals had the same feeling as switching from driving an automatic to a manual. There are so many other things to take note of which multi-fx settles for you, or completely removes for your convenience: the organization of the pedalboard, getting velcro to stick right, patching effects together, setting the volume of individual effects, choosing the right cables for the right pedal...

However, as highly convenient as digital processing offers, having total control over your signal chain is part of the allure of an analog pedalboard. If you're thinking of venturing into the realm of analog pedals, here are some tips I hope you'll find helpful:
  1. Be specific with your tone. What's the big picture of your tone? Can you describe it in words? By spelling your tone out (it doesn't have to be on paper), you're defining what you really want in your tone and can then make relevant choices. You'll know which pedals you won't need. Trust me, every pedal manufacturer out there will try to convince you that you need their pedal.
  2. Be realistic with your tone. This pertains to both your concept of tone and your budget for tone. You're not Eric Johnson/Joe Satriani/Steve Vai/(insert guitar hero here). No matter how close your rig is to your favorite guitar hero's, you won't sound like him because you're not him. The faster you assimilate this concept, the less you'll find yourself ogling over his ever-changing overhaul of guitars/pedals/amps. This leaves you more time and money to focus on your tone.
  3. Be content with your tone. You must eventually learn to draw the line to stop the purchases and concentrate on making your tone sound good. You made a plan, you stuck to it, you got what you wanted. Great! Now it's time to tweak less and practice more. Gear is only a means to an end, which is to make music.

Twitter Delicious Facebook Digg Stumbleupon Favorites More